Microsoft requires a user without MFA to configure AADC this is how to create one Overview Due to...
To manage RDS features in the MyCloudIT platform, the MCIT RDS agent is required
Overview
Most MyCloudIT RDS features require the agent installed on a Windows VM. A few examples of features that use the agent to perform tasks are:
- Autoscale feature
- Add and delete session hosts
- Send a message to RDS users
- Update collection configuration settings
The MyCloudIT RDS agent can only be installed on one VM per deployment (as opposed to once per collection). Note: The agent is not applicable to Azure Virtual Desktop (AVD) deployments.
- If the installation is run again on the same VM the agent will just uninstall and then reinstall the latest version.
Agent Installation and Updates
If you have deployed RDS via the MCIT platform the agent will already be installed. If you map a custom deployment you will need to install it. Installing and updating the agent to the latest version is the same process.
- Go to the MyCloudIT portal and navigate to Manage > Deployments.
- In the deployment selection screen choose your RDS deployment name (radio button).
- At the top of the screen select "INSTALL" then …Install RDS Agent.

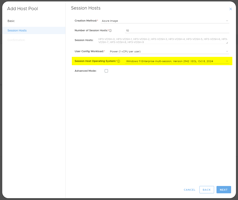
- A new screen will popup showing the VM the agent will be installed on. Generally the target default shouldn't be changed. See additional notes for supported machine roles.
- The agent install, configuration and first run can take 10-15 minutes. Once functioning you will see the graph start reporting the number of seats in use (based on active users) and capacity.
Agent Diagnostics
You can navigate to Reports > Autoscale Monitoring to review the status of your MCIT RDS agents. Here you can view the VM the agent is installed on and if it is "reporting".
Take note if the agent is not reporting:

By clicking on the far right icon (Version) you can see additional details about the agent.
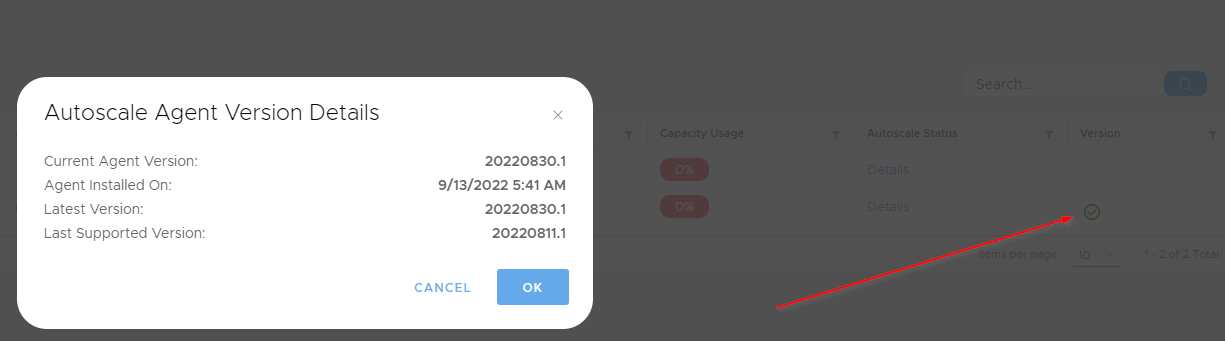
If the current version is not the same as the "latest version" you should update the agent via the above process.
Additional Notes
- The agent is installed at C:\MCIT_Agent and the agent log (called trace) is also in this directory.
- The installation log is located in the C: drives root.
- Supported operating systems for the agent are currently: Windows Server 2016, 2019 and 2022.
- We support installing the agent on:
- A VM that is both a Domain controller (DC) and and RDS Connection Broker (RDCB)
- A VM that is a Domain controller (DC).
- A VM that is an RDS Connection Broker (RDCB). This is the least preferred option. You should usually install it on a DC.
- If the DC and RDCB are separate VM's then you should make sure the C:\MCIT_Agent\MCIT_Agent.exe.Config below lines are set appropriately then restart the agent or VM.
- <add key="ConnectionBrokers" value="RDCB.mydomain.local" />
- <add key="RunCommandsFrom" value="DC.mydomain.local" />
- If the RDS deployment is in HA mode then you should make sure the C:\MCIT_Agent\MCIT_Agent.exe.Config below lines are set appropriately then restart the agent or VM.
- <add key="ConnectionBrokers" value="CB1.domain.local,CB2.domain.local" />
- By default all new MCIT RDS deployment have the agent installed on MSDC-001.
- On most MCIT classic (v2) deployments the agent will be installed on RDSMgmt.
- MyCloudIT support can assist in uninstall of agent and auto-installation on another VM.
- If you have a special requirement to install the agent manually you can download it from Manage > Deployment > Install > "Download RDS Agent".
- You will need to install the certificate in the computer / personal store
- Make sure MCIT_Agent.exe.Config settings are correct
- Run the agent one time interactively (and enter details) in powershell with: MCIT_Agent.exe -init-config
- Create a scheduled task repeating every 30 minutes for MCIT_Agent.exe -run -init-module